The Mini Rack Saga - Part 2: Bringing the Pis to Life
If you caught Part 1, you know we built a pretty sweet mini-rack. But hardware without software is just an expensive paperweight. In Part 2 we’re going to bring these Raspberry Pi 5s to life — and we’re doing it the right way. No SD cards, no shortcuts, just a clean, fast, reliable foundation.
Let’s get into it.
Before You Start Link to heading
A few things you’ll need before diving in:
- Two Raspberry Pi 5s with NVMe+PoE HATs and NVMe drives attached
- A microSD card (temporary — just for the EEPROM update, you’ll never use it again after)
- A VPN subscription with WireGuard support — needed for the arr-stack on
kompute_pi. Check the Gluetun provider list to confirm yours is supported. From your provider, generate a WireGuard config file and keep the private key handy. - Raspberry Pi Imager installed on your local machine
That’s it. Everything else gets installed as we go.
Operating System — Raspbian via NVMe Netboot Link to heading
Most Pi tutorials will tell you to flash an SD card and call it a day. We’re not doing that. SD cards are fine for tinkering but for a serious homelab they’re a liability — they wear out fast, especially under constant container I/O, and a corrupted SD card at the wrong moment can take down your whole node. Not fun.
Instead we’re booting from NVMe. Both Pi 5s have the NVME+POE HAT which means faster read/write speeds, better reliability, and a setup that can actually handle real workloads like Postgres and Docker without breaking a sweat.
To pull this off we need to enable network boot via the EEPROM. Here’s how:
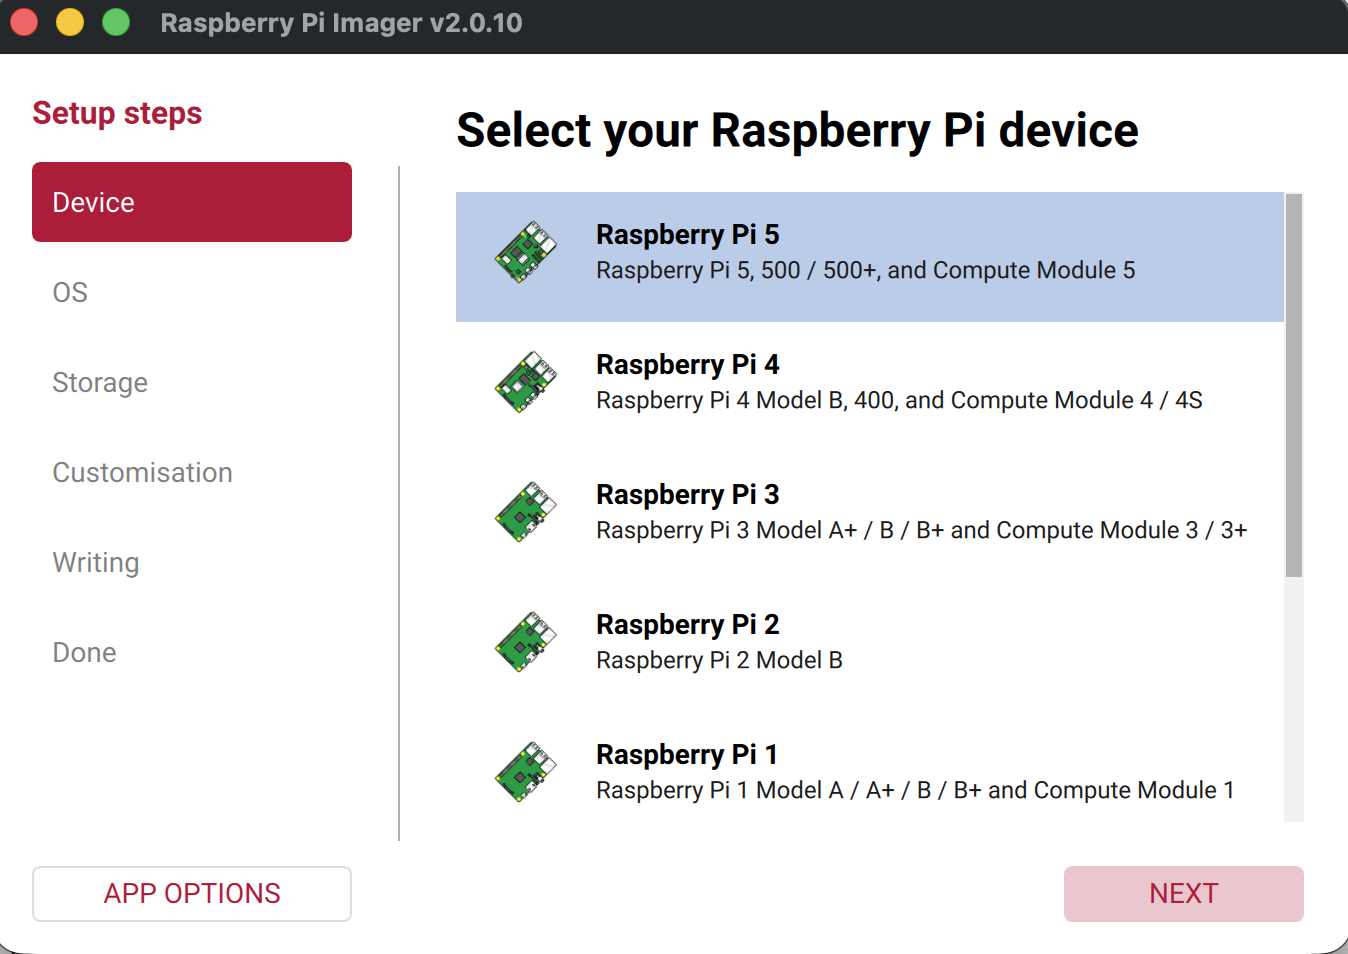
1. Open Raspberry Pi Imager and select Raspberry Pi 5 as your device.
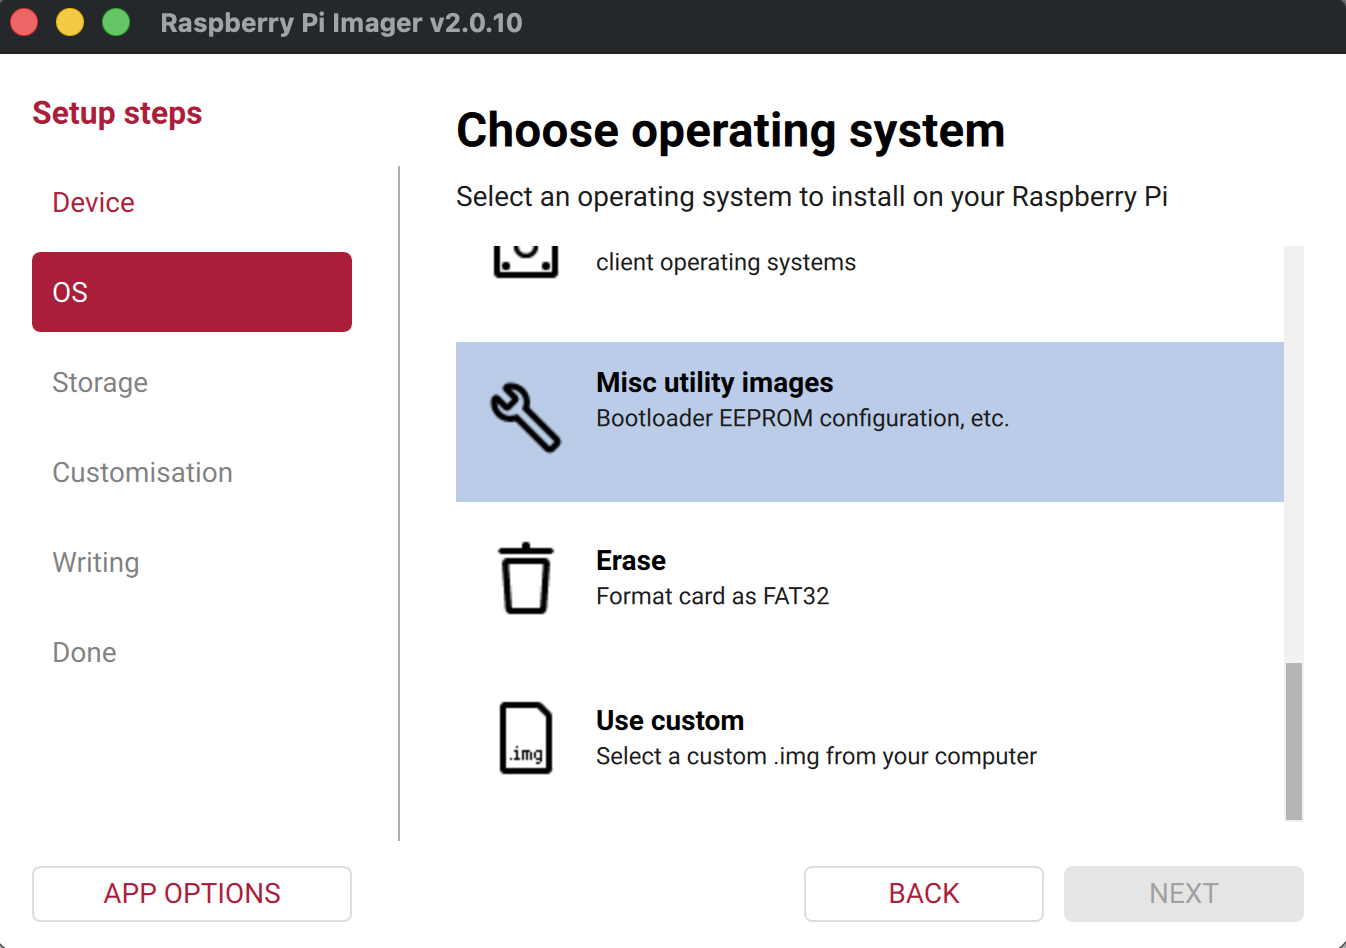
2. For the OS, choose Misc utility images.
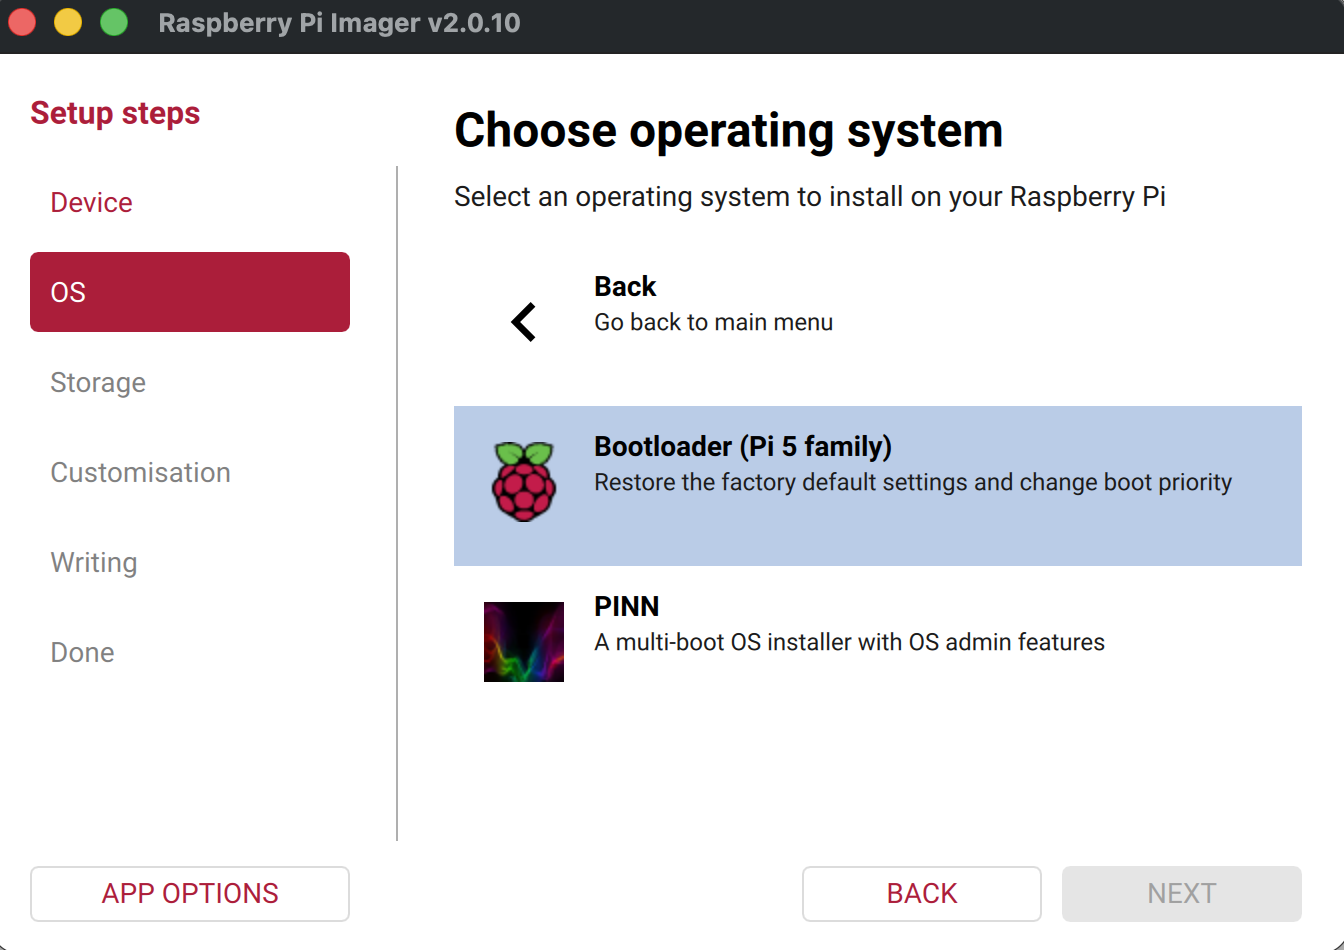
3. Select Bootloader (Pi 5 family).
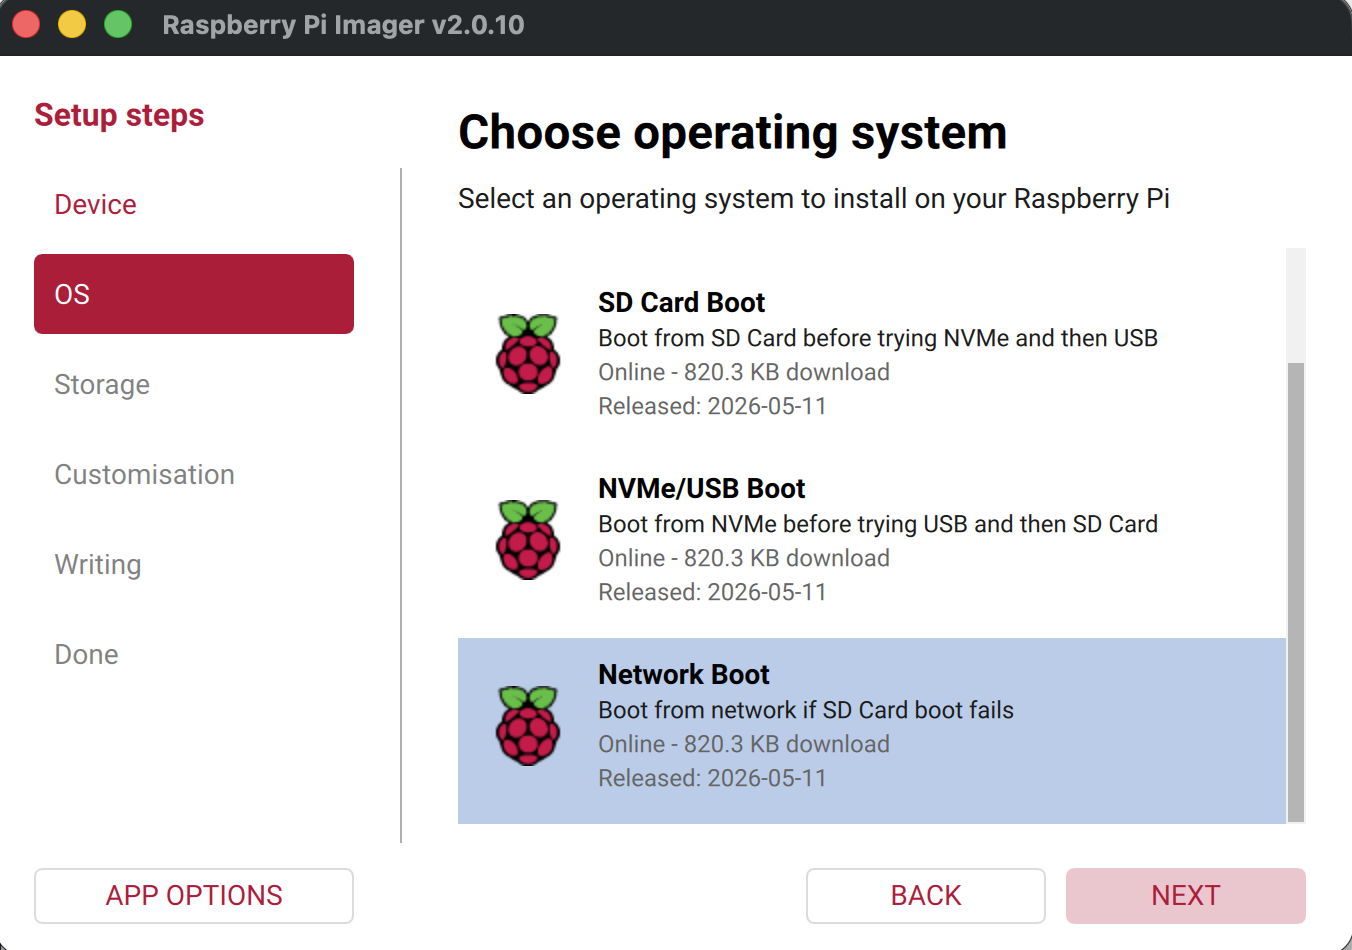
4. Finally, select Network Boot.
5. Choose your microSD card as storage, then hit Write.
6. Pop the microSD into your Pi 5 and power it on.
7. Wait for the green screen — that’s your confirmation the EEPROM has been updated successfully.
8. Power off and remove the microSD. You won’t need it again.
9. Power the Pi back on. It’ll boot into the network installer — follow the prompts to install Raspbian onto your NVMe drive.
That’s it. The microSD was just a one-time tool to unlock network boot — now your Pi 5 boots directly from NVMe every time. Clean, fast, reliable.
SSH Setup Link to heading
With Raspbian up and running the first thing we want to do is lock down access properly. No password logins — we’re using SSH keys.
On your local machine generate a key pair:
ssh-keygen -t ed25519
Then copy your public key to each Pi:
ssh-copy-id pi@<your-pi-ip>
Do this for both nodes. Once you’ve confirmed you can log in with your key, disable password authentication in /etc/ssh/sshd_config:
PasswordAuthentication no
Restart SSH:
sudo systemctl restart ssh
Now only devices with your private key can get in. Simple, effective, and a huge security upgrade over password logins.
Want to go further? We’re saving hardware security keys like Yubikey for a dedicated article — Practical SSH Key Security — coming soon.
Tailscale — The Glue That Ties It All Together Link to heading
Next up is Tailscale, and honestly this is one of my favorite parts of the whole setup. Tailscale creates a private mesh network across all your devices — your Pis, your Mac, your laptop, everything — without opening any ports or messing with your router. It just works.
Install Tailscale on each Pi:
curl -fsSL https://tailscale.com/install.sh | sh
Then bring it up:
sudo tailscale up
Authenticate via the link it gives you, and repeat on both nodes. Once both Pis are on your tailnet they can talk to each other — and to every other device on your network — securely, from anywhere.
This becomes really important later in the series when we connect our Kubernetes cluster to Ollama running on the Mac mini. But for now, just get both nodes on Tailscale and enjoy having clean, stable hostnames for your Pis.
Docker Link to heading
Before we get to the container stacks, we need Docker on both Pis. Do this on each node.
First, update and upgrade your packages:
sudo apt-get update && sudo apt-get upgrade
Then run the official install script:
curl -sSL https://get.docker.com | sh
Finally, add your user to the Docker group so you can run Docker commands without sudo:
sudo usermod -aG docker $USER
Log out and back in for the group change to take effect. Run docker ps to confirm everything is working.
Container Setup — kompute_pi Link to heading
kompute_pi is our workhorse node. This is where we run the arr-stack — a VPN-protected download and indexer setup, plus a dashboard to tie it all together.
The key design decision here is network routing: Gluetun is the VPN container that owns the network, and every other service that should route through the VPN uses network_mode: "service:gluetun" instead of having its own network stack. That means qBittorrent, Prowlarr, and Dashy all share Gluetun’s network interface — their traffic goes through the tunnel, and their ports are exposed via Gluetun’s ports block.
Here’s the full compose file:
services:
  gluetun:
    image: qmcgaw/gluetun
    container_name: gluetun
    hostname: gluetun
    cap_add:
      - NET_ADMIN
    devices:
      - /dev/net/tun:/dev/net/tun
    ports:
      - 6881:6881
      - 6881:6881/udp
      - 8085:8085 # qbittorrent
      - 9696:9696 # prowlarr
      - 8080:8080 # dashy
    volumes:
      - /home/pi/docker/arr-stack/gluetun:/gluetun
    environment:
      - VPN_SERVICE_PROVIDER=<your_vpn_provider>
      - VPN_TYPE=wireguard
      - WIREGUARD_PRIVATE_KEY=<your_wireguard_private_key>
      - VPN_PORT_FORWARDING=on
      - VPN_PORT_FORWARDING_PROVIDER=<your_vpn_provider>
      - SERVER_COUNTRIES=<your_preferred_country>
    restart: always

  qbittorrent:
    image: lscr.io/linuxserver/qbittorrent
    container_name: qbittorrent
    network_mode: "service:gluetun"
    environment:
      - PUID=1000
      - PGID=1000
      - TZ=Etc/UTC
      - WEBUI_PORT=8085
    volumes:
      - /home/pi/docker/arr-stack/qbittorrent:/config
      - /home/pi/docker/arr-stack/qbittorrent/downloads:/downloads
    depends_on:
      - gluetun
    restart: always

  prowlarr:
    image: lscr.io/linuxserver/prowlarr:latest
    container_name: prowlarr
    network_mode: "service:gluetun"
    environment:
      - PUID=1000
      - PGID=1000
      - TZ=Etc/UTC
    volumes:
      - /home/pi/docker/arr-stack/prowlarr/data:/config
    depends_on:
      - gluetun
    restart: always

  dashy:
    image: lissy93/dashy:latest
    container_name: dashy
    network_mode: "service:gluetun"
    environment:
      - NODE_ENV=production
      - PUID=1000
      - PGID=1000
      - TZ=Etc/UTC
    volumes:
      - /home/pi/docker/dashy/dashy_conf.yml:/app/user-data/conf.yml
    depends_on:
      - gluetun
    restart: always
    healthcheck:
      test: ['CMD', 'node', '/app/services/healthcheck']
      interval: 1m30s
      timeout: 10s
      retries: 3
      start_period: 40s
A few things worth calling out:
- WireGuard over OpenVPN — WireGuard is significantly faster than OpenVPN on ARM hardware, so it’s the right choice here. Most major VPN providers support it — just make sure yours does before picking one.
- Port forwarding —
VPN_PORT_FORWARDING=ontells Gluetun to negotiate a forwarded port with your provider (not all providers support this — check the Gluetun wiki). qBittorrent can then use that port for incoming peer connections, which makes a real difference for seeding performance. - Dashy — a slick self-hosted dashboard that gives you a single page linking to all your services. It’s also behind the VPN here, so it’s only reachable from your tailnet.
depends_on: gluetun— Docker Compose starts Gluetun first, butdepends_ononly waits for the container to start, not for the VPN tunnel to actually come up. If qBittorrent or Prowlarr fail to connect on first boot, give Gluetun a few extra seconds and they’ll reconnect automatically.
First login to qBittorrent: the linuxserver image generates a random password on first boot — there’s no default admin/admin. Grab it from the container logs:
docker logs qbittorrent 2>&1 | grep -i password
Alternatively, open the container in Portainer, go to Console, and run the same command from there. Once you’re in, change the password immediately under Tools → Options → Web UI.
Portainer Server Link to heading
Portainer is the container management UI that ties both nodes together. The server runs on kompute_pi — this is what you’ll actually open in your browser to manage containers across the entire homelab.
services:
  portainer:
    image: portainer/portainer-ce:latest
    container_name: portainer
    volumes:
      - /var/run/docker.sock:/var/run/docker.sock
      - portainer_data:/data
    ports:
      - 8000:8000
      - 9443:9443
    restart: always

volumes:
  portainer_data:
Once it’s up, hit https://<kompute-pi-ip>:9443 to set up your admin account. After that you can add storage_pi as a remote environment via the agent (covered below).
Container Setup — storage_pi Link to heading
storage_pi is purpose-built for one job: being the central data node for the entire homelab. It has a 2TB NVMe attached, which is what justifies giving Postgres its own dedicated node — nothing else competes for that disk I/O, and every other service in the homelab that needs a database talks to this one.
Lean stack: just Postgres and a Portainer agent.
Postgres Link to heading
services:
  db:
    image: postgres:15
    container_name: postgres-db
    restart: unless-stopped
    ports:
      - "5432:5432"
    environment:
      POSTGRES_USER: postgres
      POSTGRES_PASSWORD: postgres      # change this before exposing to your network
      POSTGRES_DB: postgres
    volumes:
      - postgres_data:/var/lib/postgresql/data
    healthcheck:
      test: ["CMD-SHELL", "pg_isready -U $POSTGRES_USER"]
      interval: 10s
      timeout: 5s
      retries: 5

volumes:
  postgres_data:
The 2TB NVMe means you’re not going to run out of space anytime soon, and because Postgres has the drive to itself the I/O is consistent — no noisy neighbour problem from containers doing their own reads and writes alongside it.
The healthcheck is worth keeping — it lets Docker (and anything that depends_on this service) know when Postgres is actually ready to accept connections, not just when the container has started.
Portainer Agent Link to heading
The agent connects storage_pi back to the Portainer server running on kompute_pi, letting you manage both nodes from a single dashboard.
services:
  portainer_agent:
    image: portainer/agent:2.21.5
    container_name: portainer_agent
    volumes:
      - /var/run/docker.sock:/var/run/docker.sock
      - /var/lib/docker/volumes:/var/lib/docker/volumes
      - /:/host
    ports:
      - 9001:9001
    restart: always
Once the agent is running, go to your Portainer server, navigate to Environments → Add environment → Docker Standalone, enter storage_pi’s Tailscale hostname and port 9001, and you’re done. Both nodes visible from one place.
What It Looks Like Link to heading
Once everything is up, here’s what you’re working with.
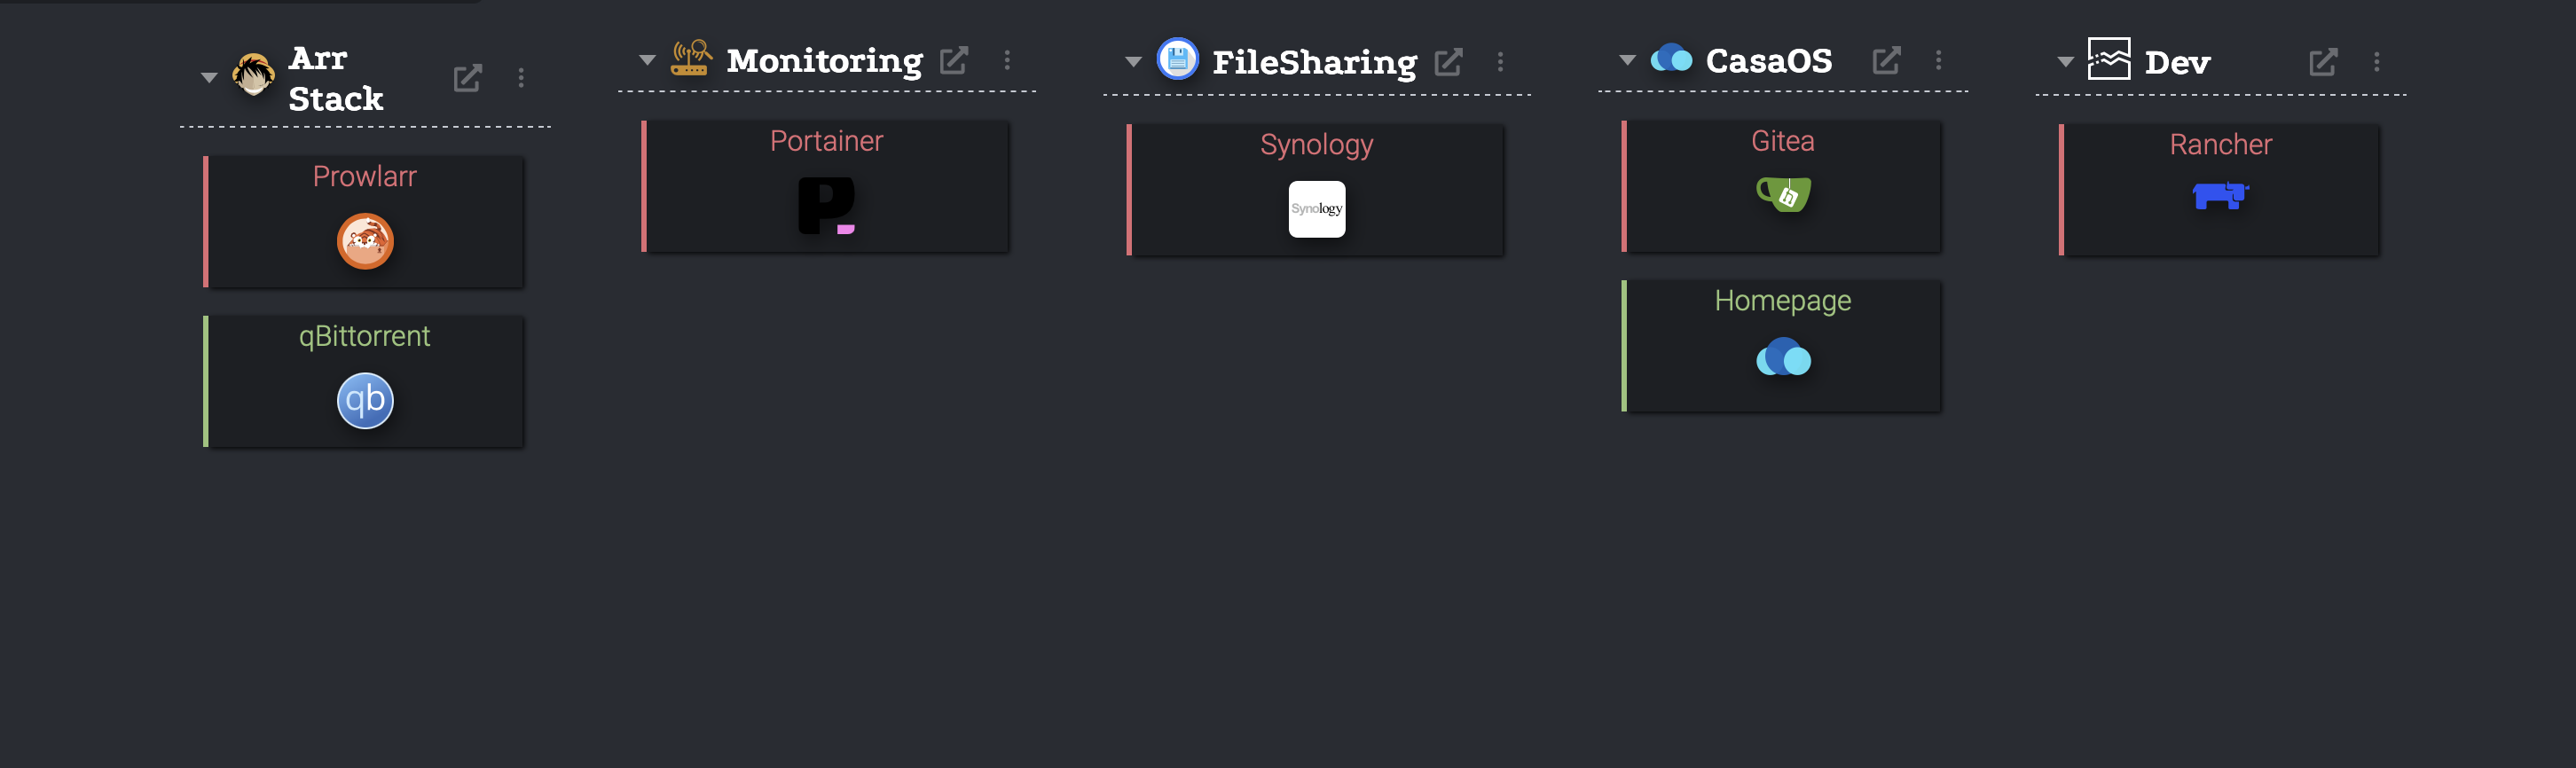
Dashy — your homelab’s front door. All your services in one place, accessible via Tailscale from anywhere.
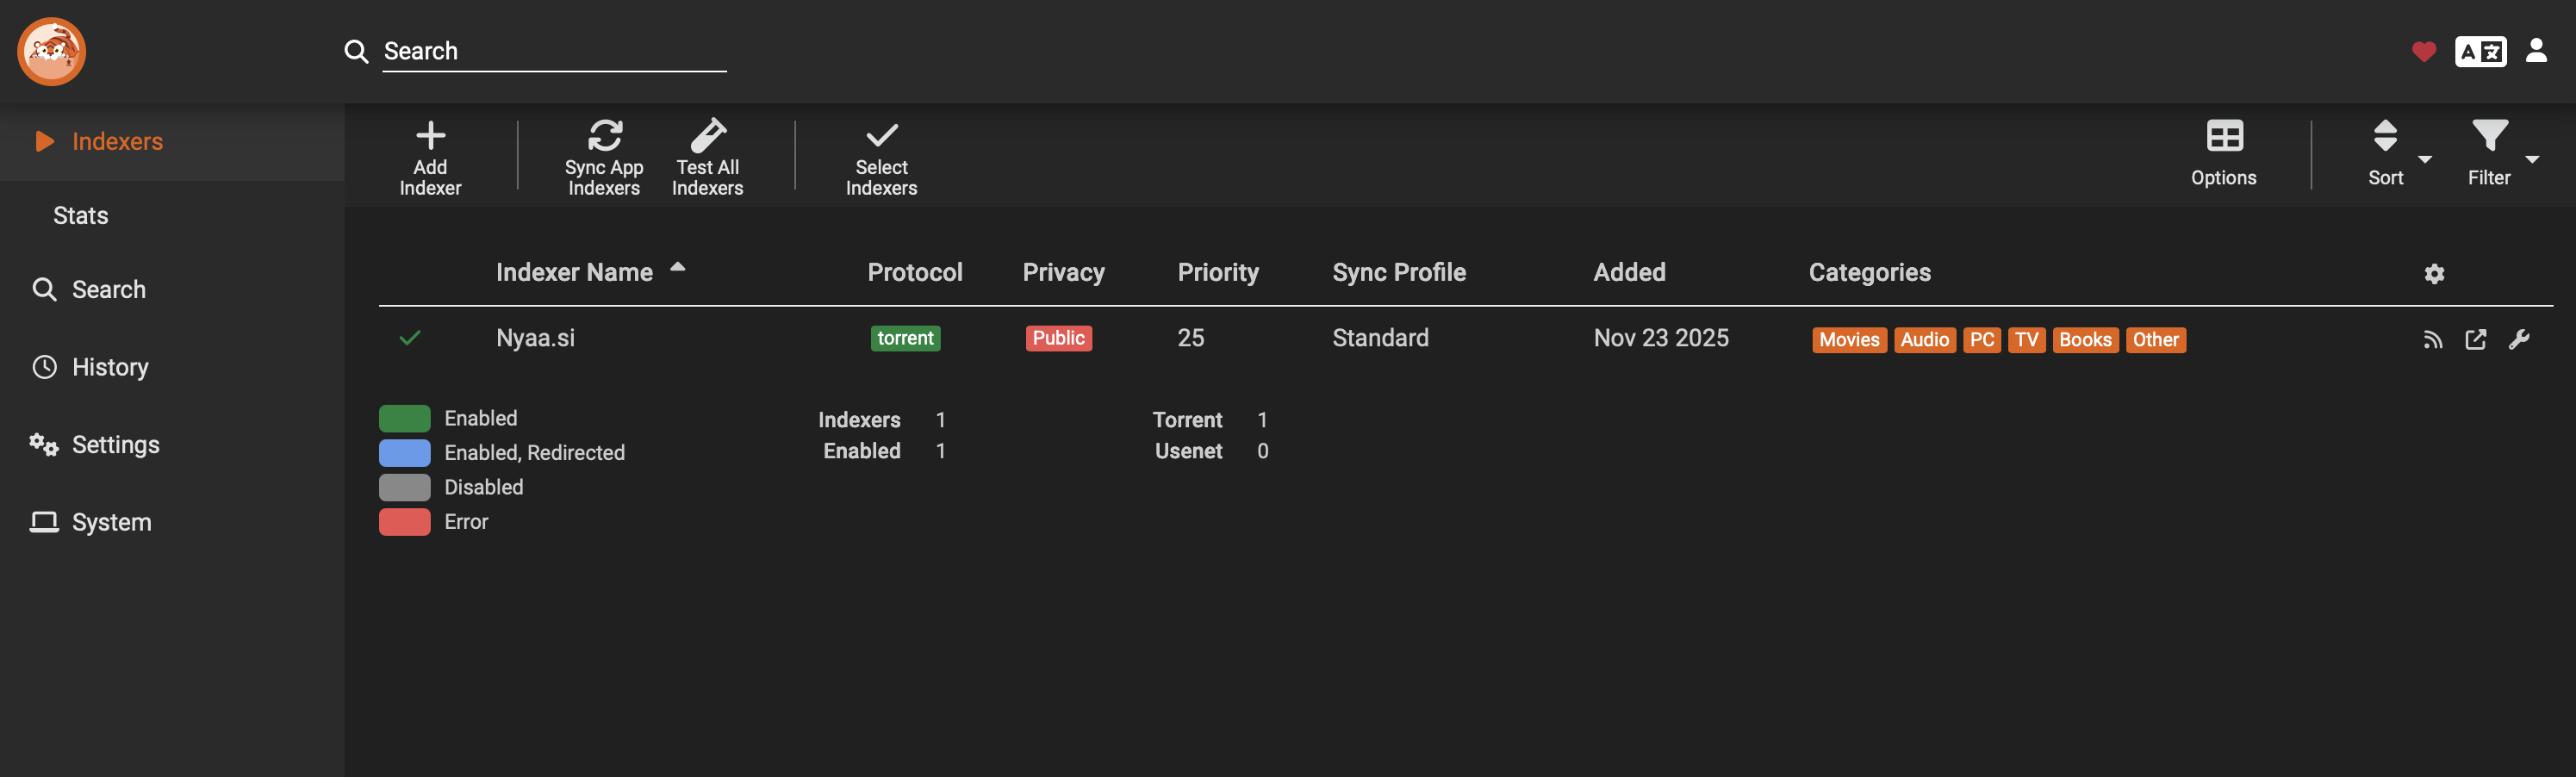
Prowlarr — indexer management. Add your indexers here and Prowlarr syncs them to qBittorrent automatically.
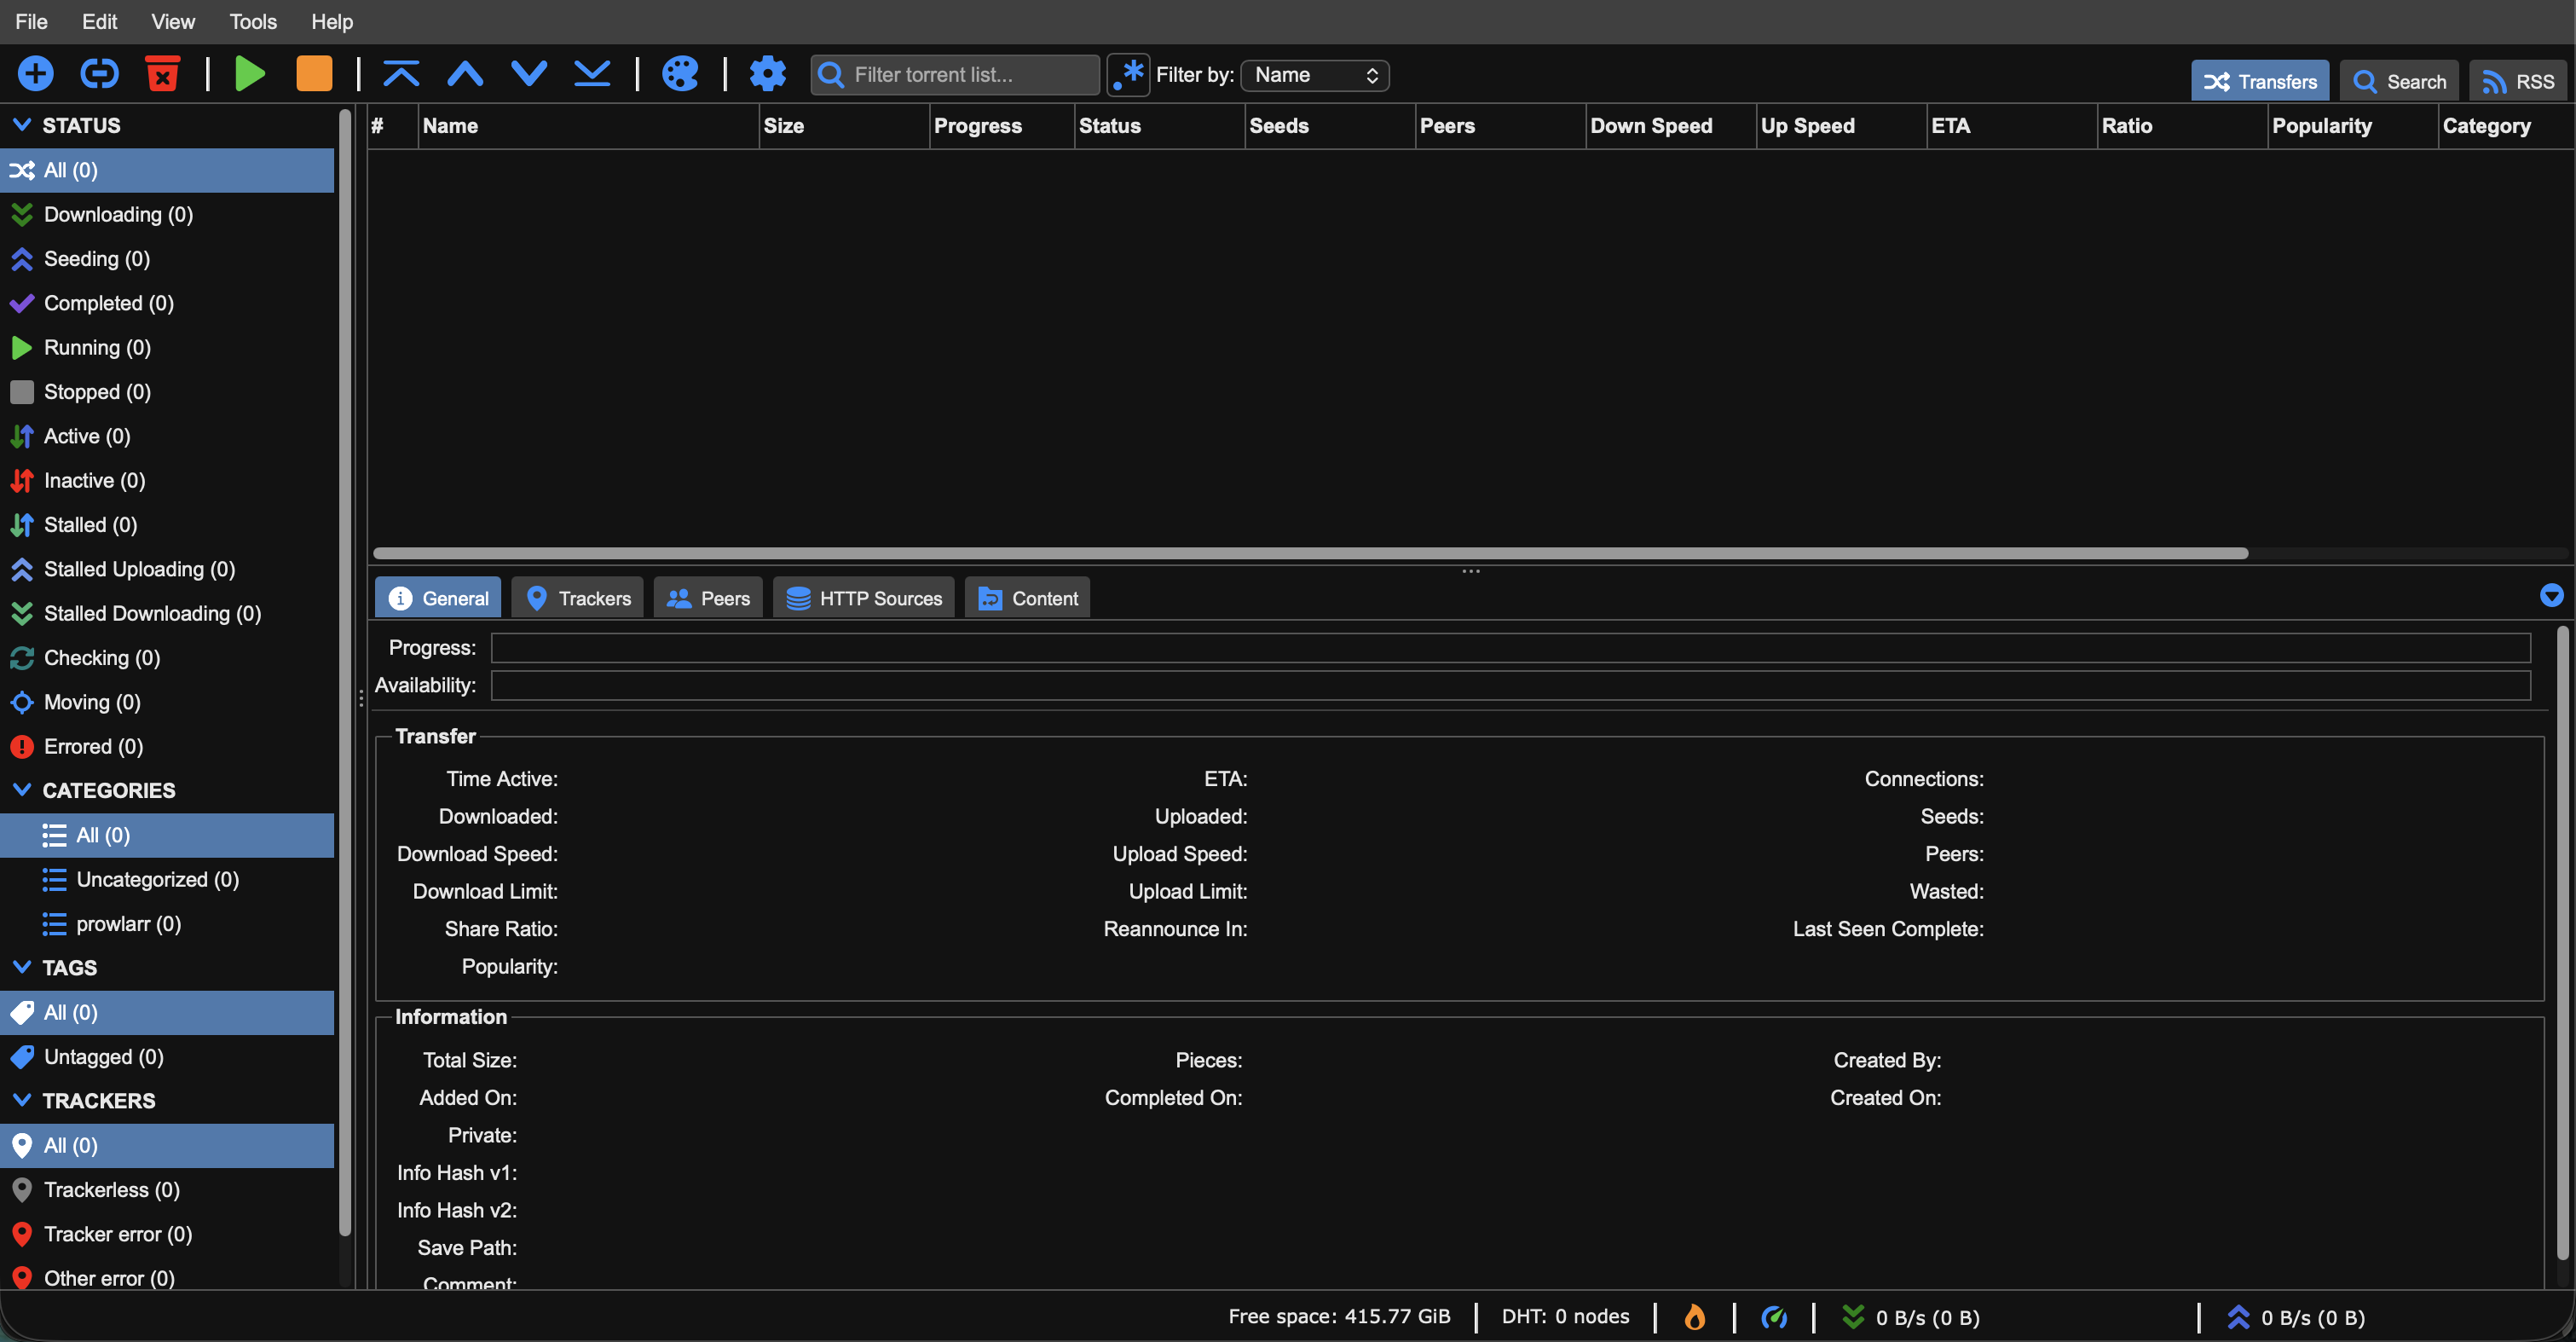
qBittorrent — the download engine, routing all traffic through Gluetun’s VPN tunnel.
Wrapping Up Link to heading
At this point both Pi 5s are running lean, reliable, and secure:
- Booting from NVMe — no SD card fragility
- SSH locked down with key-based auth
- Connected via Tailscale for secure remote access
- Docker installed and running on both nodes
kompute_pirunning Portainer, Gluetun, qBittorrent, Prowlarr, and Dashy — all behind a VPN tunnelstorage_pirunning Postgres on a dedicated 2TB NVMe, managed via Portainer agent
This is the foundation everything else builds on. In Part 3 we’re leveling up — taking this homelab to the next tier with RKE2 on the Mac minis. Stay tuned.